How to Make a Yeast Starter
By DANIEL J. LEONARD
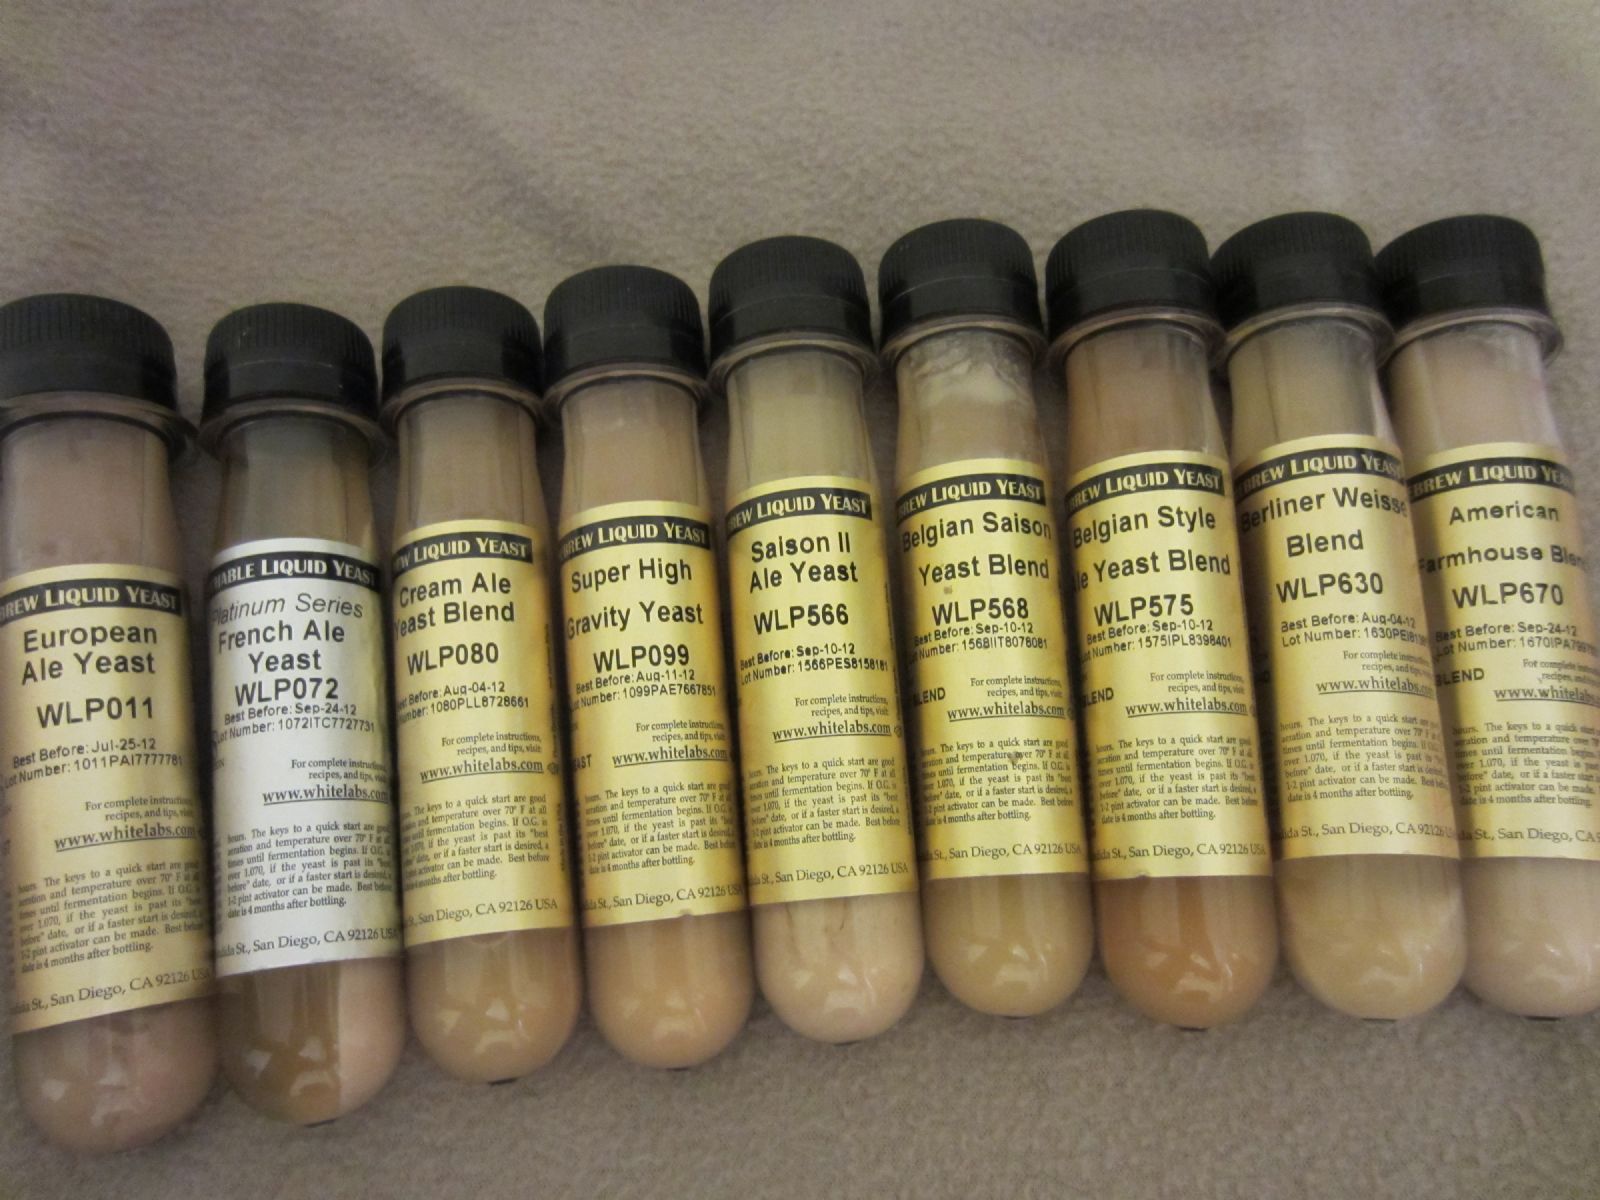
A yeast starter is essentially a small batch of beer you make to help prime and increase your yeast count prior to pitching the yeast onto your wort. For the sake of this article, we’ll be considering making a starter for liquid yeast only as dry yeast is usually just rehydrated and does not require a starter. A single vial of yeast from White Labs, for example, would usually be suitable to pitch directly to a five gallon batch, although a five gallon batch of wort would still almost certainly benefit from preparing a yeast starter. Think of preparing a yeast starter as giving your yeast an opportunity to stretch and warm up before running a marathon.
The other area where making a yeast starter comes in particularly handy is when you've only got a single vial of liquid yeast and you're brewing more than a five gallon batch, or you’re brewing a high gravity beer. At about $8 or $9 per yeast vial, costs can start to add up, so growing a single yeast vial into a quantity suitable to pitch to a 10 gallon batch is more money you can save for your next batch.
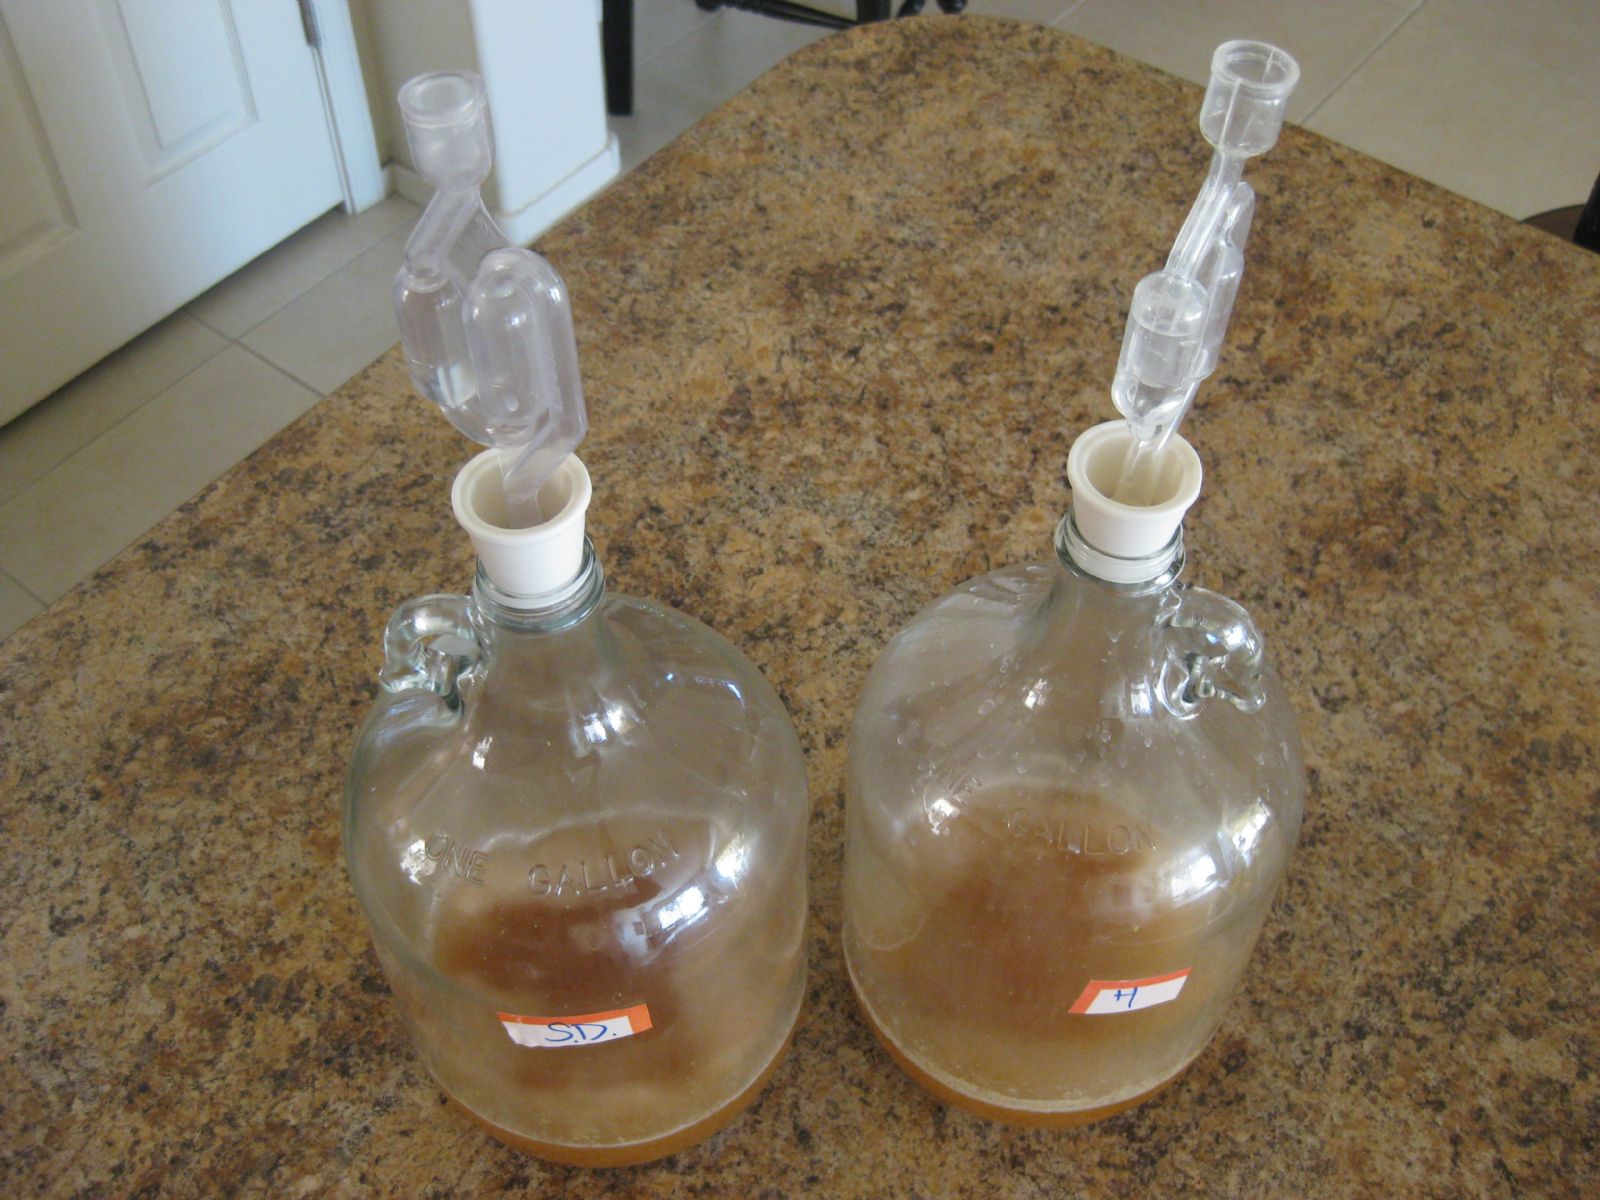
The simple procedure for preparing a yeast starter is to begin by making a mini batch of wort by adding a ½ cup of DME to 32 oz of water, keeping your gravity at around 1.040. Boil your mini-wort for 3 minutes, adding a pinch of hops if you like, and cool (ideally) to the temperature at which you will ultimately be fermenting your beer in order to condition and minimize shock to the yeast. You can cool your mini-wort in the freezer or in a small ice-bath, however make sure no ice water or any other foreign particles come into contact with your mini-wort. Sanitize your yeast vial by soaking it in a precarbonate solution, One-Step for example, and combine with your mini-wort and a small pinch (1/4 tsp.) of yeast nutrient into a sanitized vessel. We use a one gallon glass jug and pour the mini-wort, liquid yeast and yeast nutrient in through a sanitized funnel, then seal the jug off with a sanitized stopper and air-lock, however a mason jar or some other small sanitized glass vessel could work too.

You can also use plastic wrap to cover the mouth of your vessel loosely secured with a rubber band allowing air to seep out and keeping your starter safe from bacteria. Try to maintain the temperature of your starter at the same temperature you will be fermenting your beer at. Store your starter out of direct sunlight, in a closet perhaps. Continual aeration can improve cell growth by removing CO2 and adding oxygen. Two common methods to aerate your starter are:
(1) The Cheap Method, a.k.a. shaking the hell out of the starter yourself. Every few hours, remove the air-lock and cover the mouth of your vessel with plastic wrap, then shake your yeast starter vessel like it stole something. Re-sanitize your stopper and air-lock and place back on your starter vessel.
(2) Use a Stir Plate: Buy or make a stir plate which has been shown to increase yeast cell count by 25-50% in comparison to a non-aerated starter. Cell growth will max out between 24-36 hours, or about 18 hours after high krausen is reached.
You can add more wort to your starter if you need to increase your cell count for a larger batch, pitch your starter onto your wort, or refrigerate your starter for no more than a week before use.
There is always the risk that a yeast starter can become infected with an unintended organism, however following careful sanitation methods will reduce this risk.
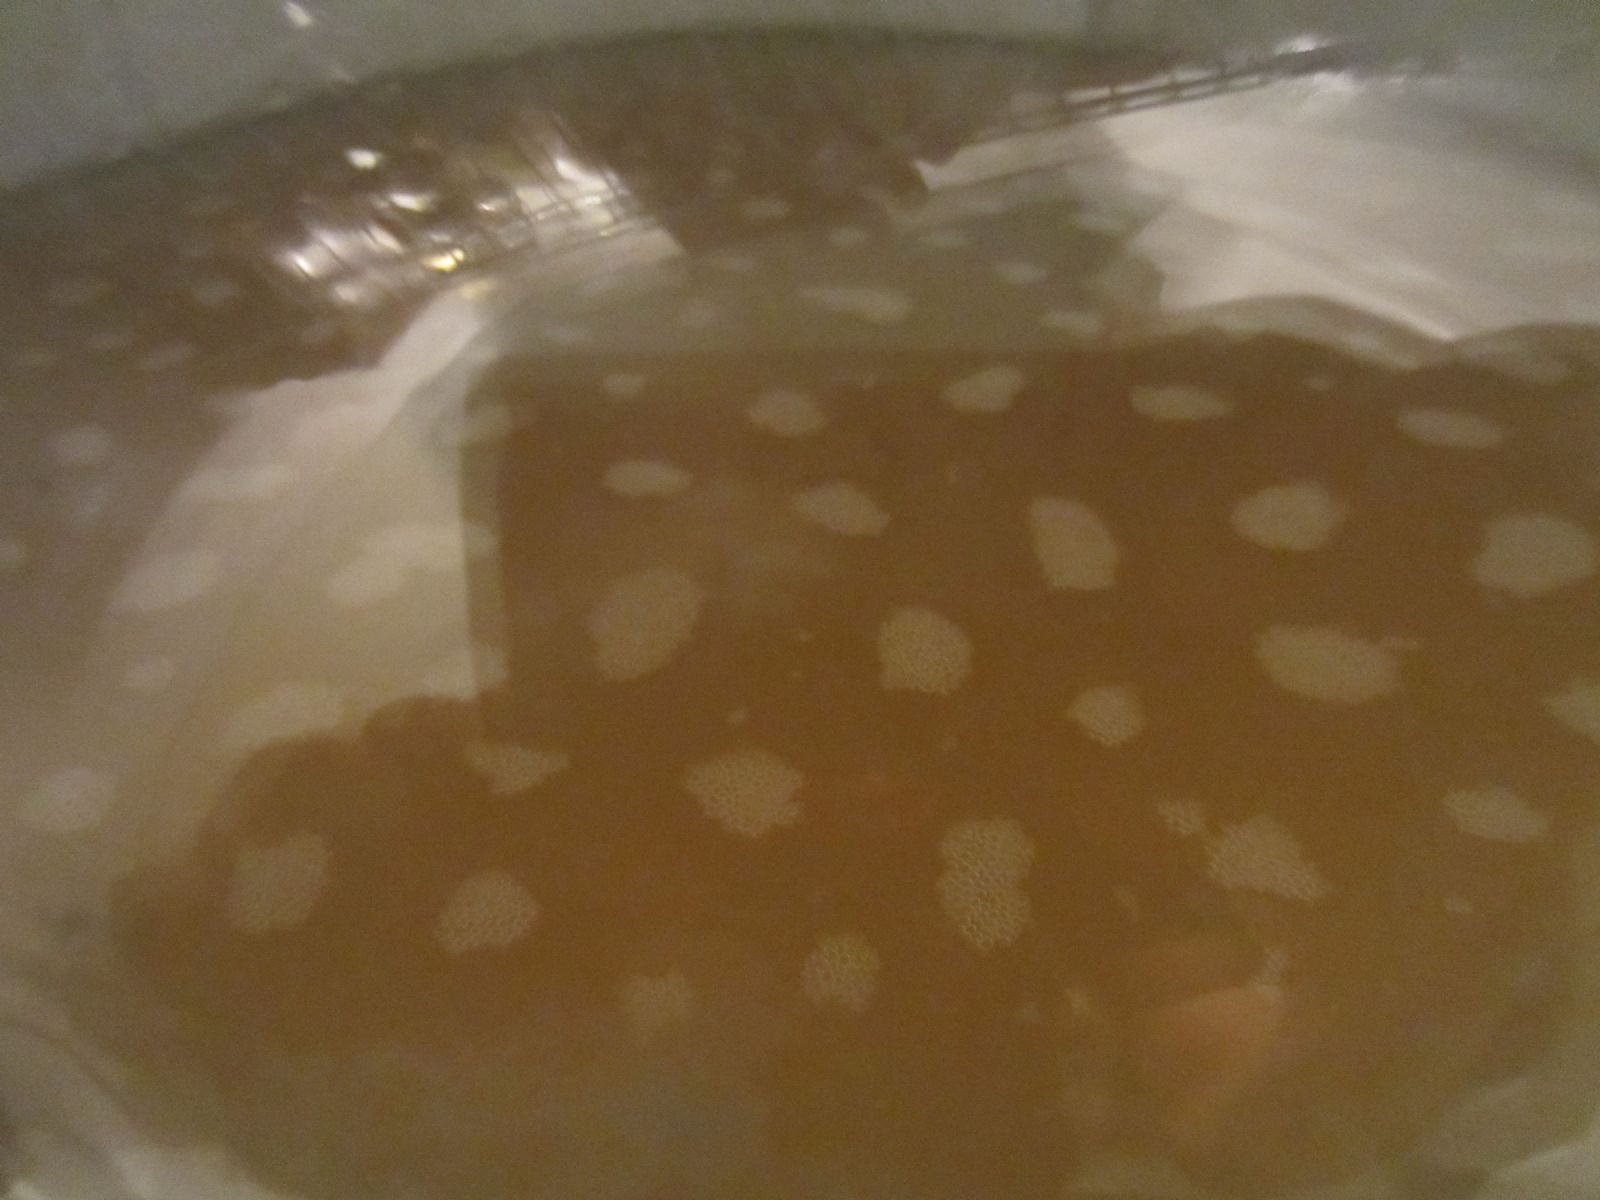
You should be able to see physical signs of yeast growth within 16 hours as little white islands of tiny bubbles (see photo below) begin to form and float on top of the wort, which is a good indication that you have viable yeast.
Like this tutorial? Questions, comments, free beer? Feel free to drop me a line at dan@beersyndicate.com, or follow us on Twitter at twitter.com/beersyndicate.
From The Blog
Tips for Craft Brewery Success
The best business secrets wikileaked from the private records of the most successful craft breweries in the United States.
Beer Names You Might Be Saying Wrong
Enlighten yourself, but please don't correct others. It's just one of those Catch-69 situations, like when somebody has ketchup on their face.
The Beer Quiz
What's your beer IQ? This test measures an individual’s beer knowledge through a series of questions of varying levels of difficulty: Normal, Hard, and Insane.
Homebrewing Techniques
Beat the Stuck Fermentation Monster
You've brewed the perfect wort. You bullseyed your strike temp, you had a most excellent cold break, your OG was right on the money...
How to Cork Belgian Beer Bottles
So you wanna up your bottling game, huh? Well, you've come to the right place.
Top 40 Ways to Improve Your Homebrew
Admit it: No matter if in a DeLorean, TARDIS, or a hot tub, we’ve all thought about what advice we might give our younger selves if we could go back in time.
DIY Projects
How to Polish a Keg
Shining up your keg will probably not improve the taste of your beer, but it looks cool and inspires epic brewing sessions!
Convert a Refrigerator Into a Fermentation Chamber
Decided to take a huge step in improving your homebrew and set up a temperature controlled fermentation system, have ya? Smart thinking.
How to Convert a Keg Into a Brew Kettle
Convert that old keg into a brewing kettle. The advantages of using a keg for homebrewing pretty much come down to quality and cost.
|
|

