Homebrewing: How to Steep Specialty Grains
By DANIEL J. LEONARD

Given that the vast majority of award winning extract recipes involve the use of steeping grains of one type or another, it's worth becoming familiar with some of the basics of steeping. Even if you aren't planning on entering your beer into a brewing competition any time soon, steeping with specialty grains is one of the simplest ways to take your homebrew to the next level, increasing both the overall complexity and quality of your beer.
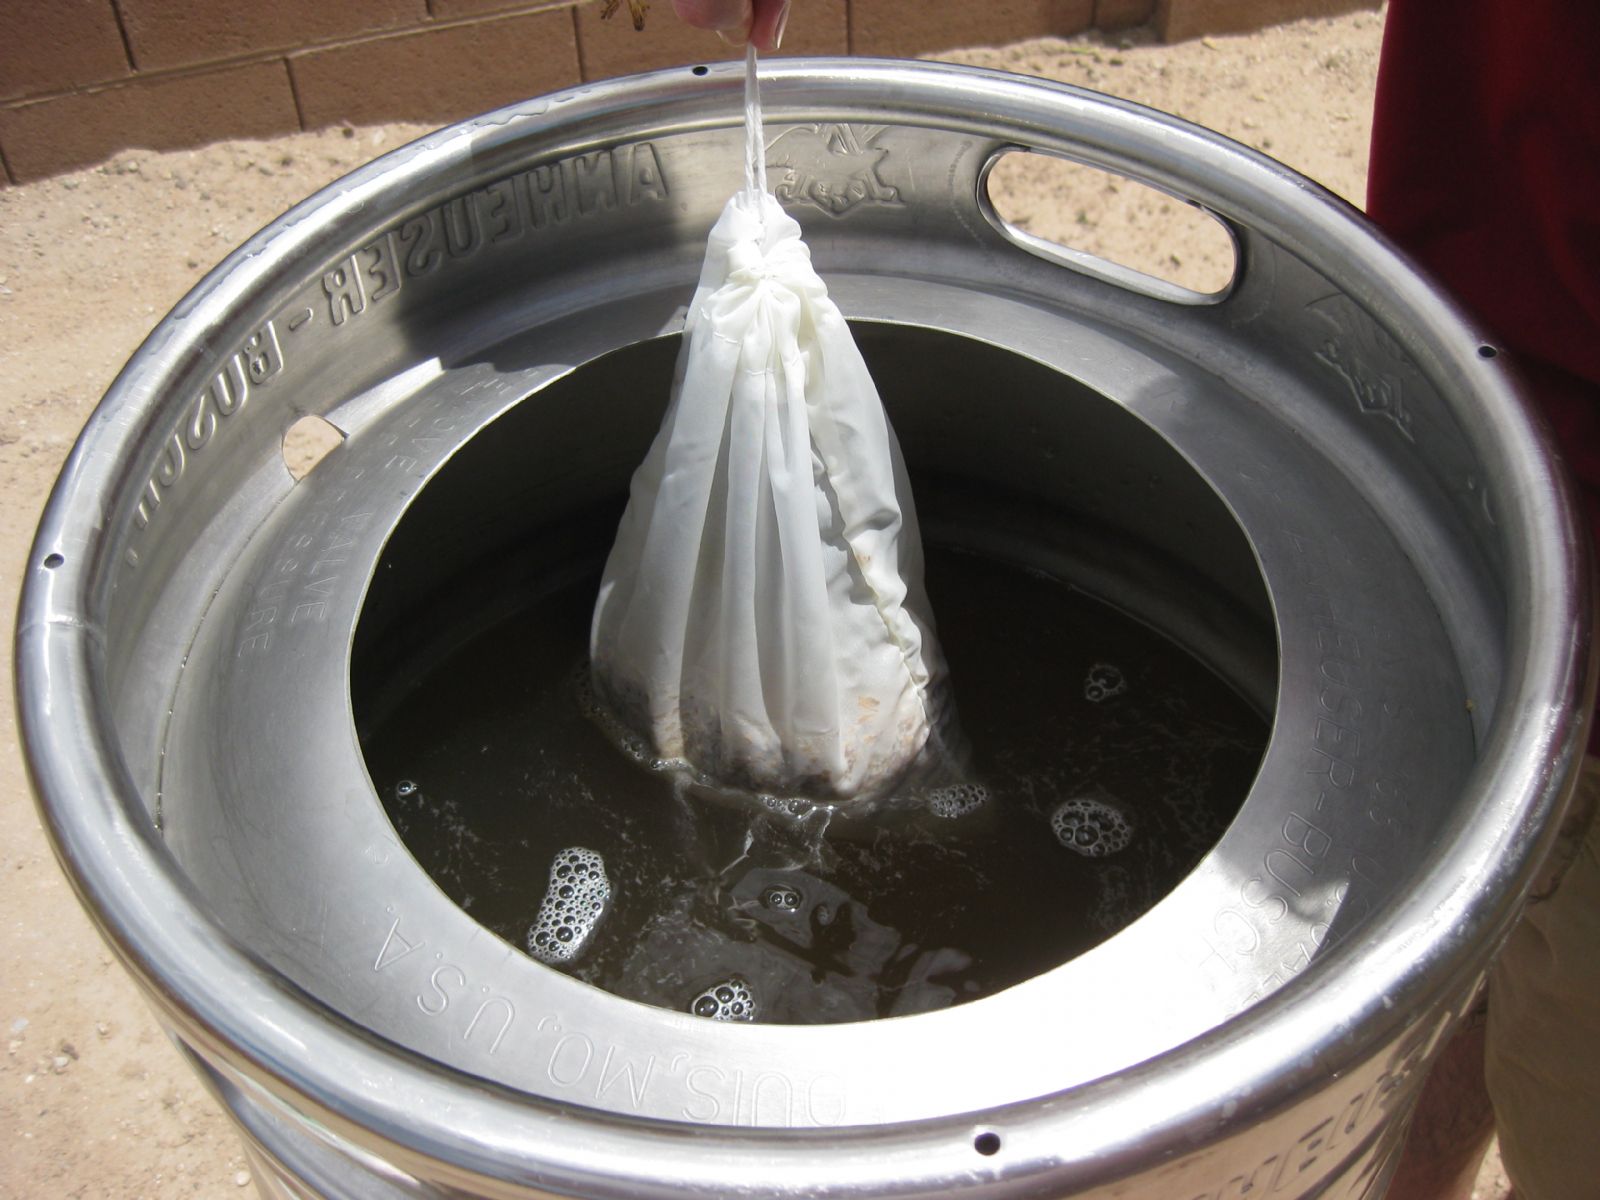
In brewing, steeping usually refers to soaking a bag of grain in hot water in an attempt to lend complexity, color and/or body to a beer. With steeping, you're essentially creating a giant tea bag, but instead of tea leaves, you are usually steeping grains, though heck, you could steep chamomile in your kettle if you wanted- I have!
Not all types of grain are ideal for steeping, or at least not by themselves, and steeping temperature and time will play a critical role when it comes to getting the most out of your steeping grains. By the way, steeping grains will get you one step closer to all-grain brewing in that with all-grain you will basically be soaking (mashing) all of your grains for an extended period of time and at a particular temperature schedule. That said, some all-grain brewers prefer to mash all of their grains at once, while others will mash most of their grains, setting some darker grains aside for a normal steep after the mashing process in order to better control pH and tannin extraction, but let's not get too ahead of ourselves.
In order to steep, we recommend having at least one grain steeping bag handy, which you should be able to purchase from your local homebrew store. Steeping bags are usually made from muslin or food-grade nylon mesh, and come in different sizes. If available, we prefer nylon mesh steeping bags with a drawstring because they tend to be more durable than muslin and are better at keeping your steeping grains in the bag where you want them. Remember, the smaller the steeping bag, the less grain you will want to place in the bag. Smaller steeping bags, such as the fairly common 9" X 14" sized bag, should contain no more than 1 pound (.453 kg) of specialty grain; any more than that and extraction efficiency becomes increasingly decreased. So, if you can only get your hands on the smaller variety of steeping bags, you might want to consider having a few on hand. Alternatively, you might consider using a 5 gallon paint strainer bag.
When using grains for steeping, make sure that the grains are crushed- not left whole, but not ground to a powder either. When steeping, hold onto the drawstring of the steeping bag and gently raise and lower the bag in the hot water in a, well, tea-bagging like motion. [Insert Jr. High joke here]. If you need to walk away from the kettle, tie, or otherwise secure the steeping bag to your kettle so that it doesn't fall in and release grains into the kettle (this would somewhat defeat the purpose of the steeping bag). The idea behind keeping the grains in the grain bag is that you will soon most likely be boiling the water in which you're steeping, and boiled grains can leave an unpleasant astringent quality to your finished beer. You’ll want to begin steeping your bag of crushed grains in the kettle once your water hits a temperature of 150-170 °F (65.56-76.67 °C), though 160 °F (71.11 °C) is ideal, and you’ll want to hold this temperature between 15-45 minutes, but we’d recommend at least 30 minutes. When you begin steeping, your grain bag will lower the water temperature in your kettle, so you may need to increase the kettle temperature after adding the grain bag. If your temperature climbs above 170 °F (76.67 °C) or your steep time is too long, then the likelihood of tannin extraction is increased, which can leave your beer with a dry, astringent character similar to steeping tea for too long or too high a temperature. If you’re water temperature falls below 150 °F (65.56 °C), extraction from the grain is reduced.
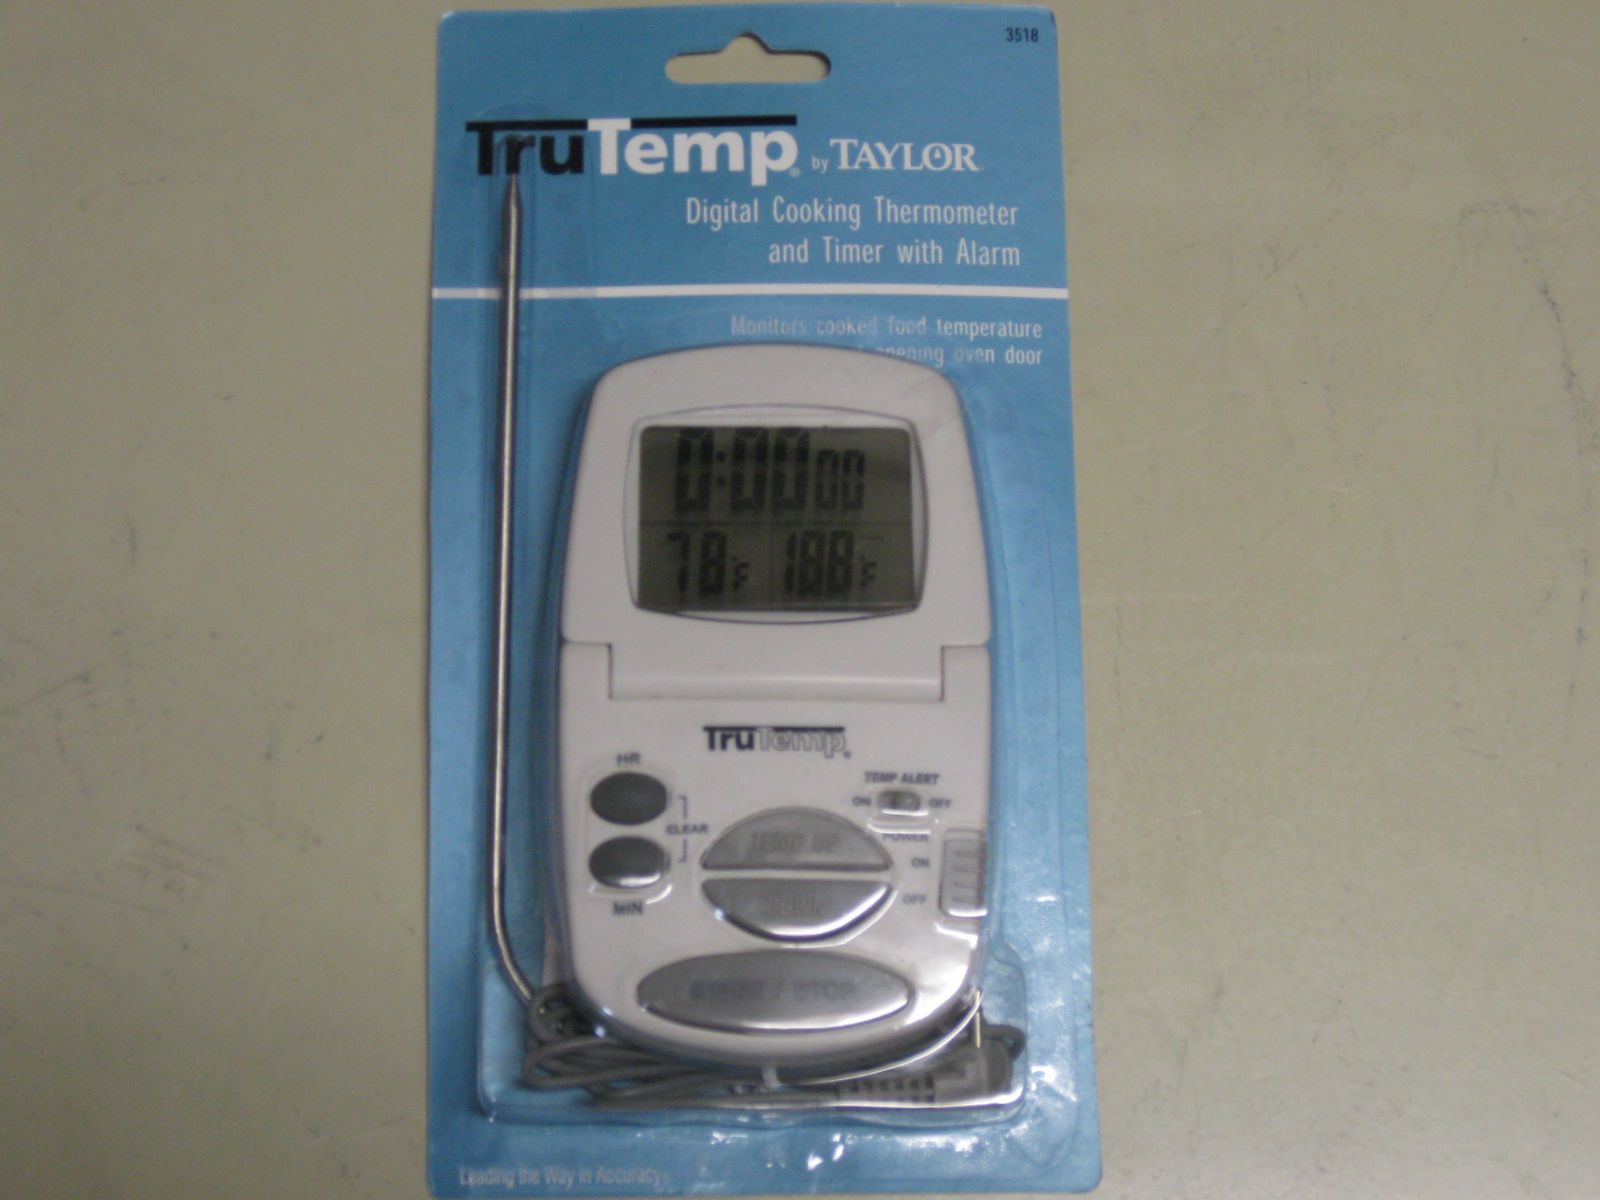
You'll need some sort of thermometer to keep tabs on your temperature. Similar, if not identical, to dairy thermometers, brewers thermometers should not contain lead or mercury as they are intended to be used with food. Usually made out of glass that contain small steel balls and dyed alcohol, brewers thermometers are often designed to float in liquid, however they can break, which if happens in your boil kettle while brewing, your main concern will be filtering out glass shards. If it were me, I’d probably dump the batch, but then again, I don’t use a glass thermometer, so it’s never been an issue. Short of having a temperature gauge connected directly to your kettle, I opt to use a Digital Thermometer with a probe, which you can pick up and any large retail super store for around $15-$20. These have worked great for me as they are accurate and have a digital timer function, which is definitely useful on brew day. My only word of caution would be to not get liquid on any part of the thermometer other than the metal part of the probe; you may be ok if you get the plastic wrapped wire wet, but why risk it.

All grains can be steeped. The problem comes into play when starches are not converted to sugars. Some grains perform better when mashed than when steeped, meaning the extraction of sugars is greater (efficiency). On the whole, grains used for steeping will contribute little to no fermentable sugars to your wort, so it will have little effect on your overall original gravity.
Below is a list of grains which are intended for mashing only, and others which can be steeped:
Base Malts-MASHED ONLY:
American 2 row
American 6 row
Pilsner Malt
Continental Pilsner
British Pale Ale
Rye
Wheat
Kilned Malts-MASHED ONLY:
Vienna
Munich
Aromatic (20L)
Biscuit (25L)
Victory (28L)
Melanoidin (28L)
Special Roast (50L)
Brown (70L)
German Beechwood / Smoked Rauch
Roasted Malts-MASHED OR STEEPED:
Carapils / Dextrine
Crystal (15L)
Honey Malt (18L)
CaraVienna (20L)
Crystal (40L)
CaraMunich (60L)
Crystal (60L)
Crystal (80L)
Crystal (120L)
Special “B” (120L)
Meussdoerffer Rost (200L)
Kiln / Roasted Malts-MASHED OR STEEPED:
Pale Chocolate (200L)
Light Roasted Barley (300L)
Chocolate (350L)
Chocolate (420L)
Carafa Special II (430L)
Chocolate (475L)
Roasted Barley (450L)
Roasted Barley (500L)
Black Barley (500L)
Black Patent (525L)
Roasted Barley (575L)
Black (600L)
Like this tutorial? Questions, comments, free beer? Feel free to drop me a line at dan@beersyndicate.com, or follow us on Twitter at twitter.com/beersyndicate.
From The Blog
Tips for Craft Brewery Success
The best business secrets wikileaked from the private records of the most successful craft breweries in the United States.
Beer Names You Might Be Saying Wrong
Enlighten yourself, but please don't correct others. It's just one of those Catch-69 situations, like when somebody has ketchup on their face.
The Beer Quiz
What's your beer IQ? This test measures an individual’s beer knowledge through a series of questions of varying levels of difficulty: Normal, Hard, and Insane.
Homebrewing Techniques
Beat the Stuck Fermentation Monster
You've brewed the perfect wort. You bullseyed your strike temp, you had a most excellent cold break, your OG was right on the money...
How to Cork Belgian Beer Bottles
So you wanna up your bottling game, huh? Well, you've come to the right place.
Top 40 Ways to Improve Your Homebrew
Admit it: No matter if in a DeLorean, TARDIS, or a hot tub, we’ve all thought about what advice we might give our younger selves if we could go back in time.
DIY Projects
How to Polish a Keg
Shining up your keg will probably not improve the taste of your beer, but it looks cool and inspires epic brewing sessions!
Convert a Refrigerator Into a Fermentation Chamber
Decided to take a huge step in improving your homebrew and set up a temperature controlled fermentation system, have ya? Smart thinking.
How to Convert a Keg Into a Brew Kettle
Convert that old keg into a brewing kettle. The advantages of using a keg for homebrewing pretty much come down to quality and cost.
|
|