Beer Syndicate Blog

Shamelessly Promoting Beer

Month: October 2014

How to Make a Pumpkin Keg

Pumpkin Keg

Love it or hate it, with Halloween and Thanksgiving quickly approaching, ’tis the season for pumpkin beer— and business is booming.  No longer is it just the so-called extreme-for-the-sake-of-being-extreme craft breweries busy in the brew house smashing pumpkins.  Behemoth breweries like MillerCoors (Blue Moon Harvest Moon Pumpkin Ale), Anheuser-Busch (Shock Top Pumpkin Wheat), and Samuel Adams have all kicked around the pumpkin patch to produce their own seasonal salutes to the great pumpkin.  In total, there are roughly 800 different commercial examples of pumpkin beer on the market to choose from today.  Perhaps this is part of the reason why the GABF has officially canonized “Pumpkin Beer” as a beer style all to its own; a distinction shared with no other berry on the beer style roster (yep- pumpkin is a type of berry).

The bottom line is that if you’re still on the fence about pumpkin beer, there’s no better time to head to your local purveyor of craft beer, and put together a sampler pumpkin pack.  You may discover your newest favorite pumpkin beer yet.

Pumpkin Beers

And chances are you’re either going to be invited to (or hosting) a Halloween/Thanksgiving-type event this year, or sometime in your bright and sunny future.  Sure, you could always cleverly share a 6-pack of your new-found fav pumpkin brew, but that’s only a little clever.  To really steal the show, present your pumpkin beer in style: with a Pumpkin Keg.

Not only is a Pumpkin Keg a party hit, it’s also easy to put together.

Here’s what you’ll need:

  1. (spoiler alert…) A pumpkin
  2. Pumpkin Beer (I make a few recommendations below)
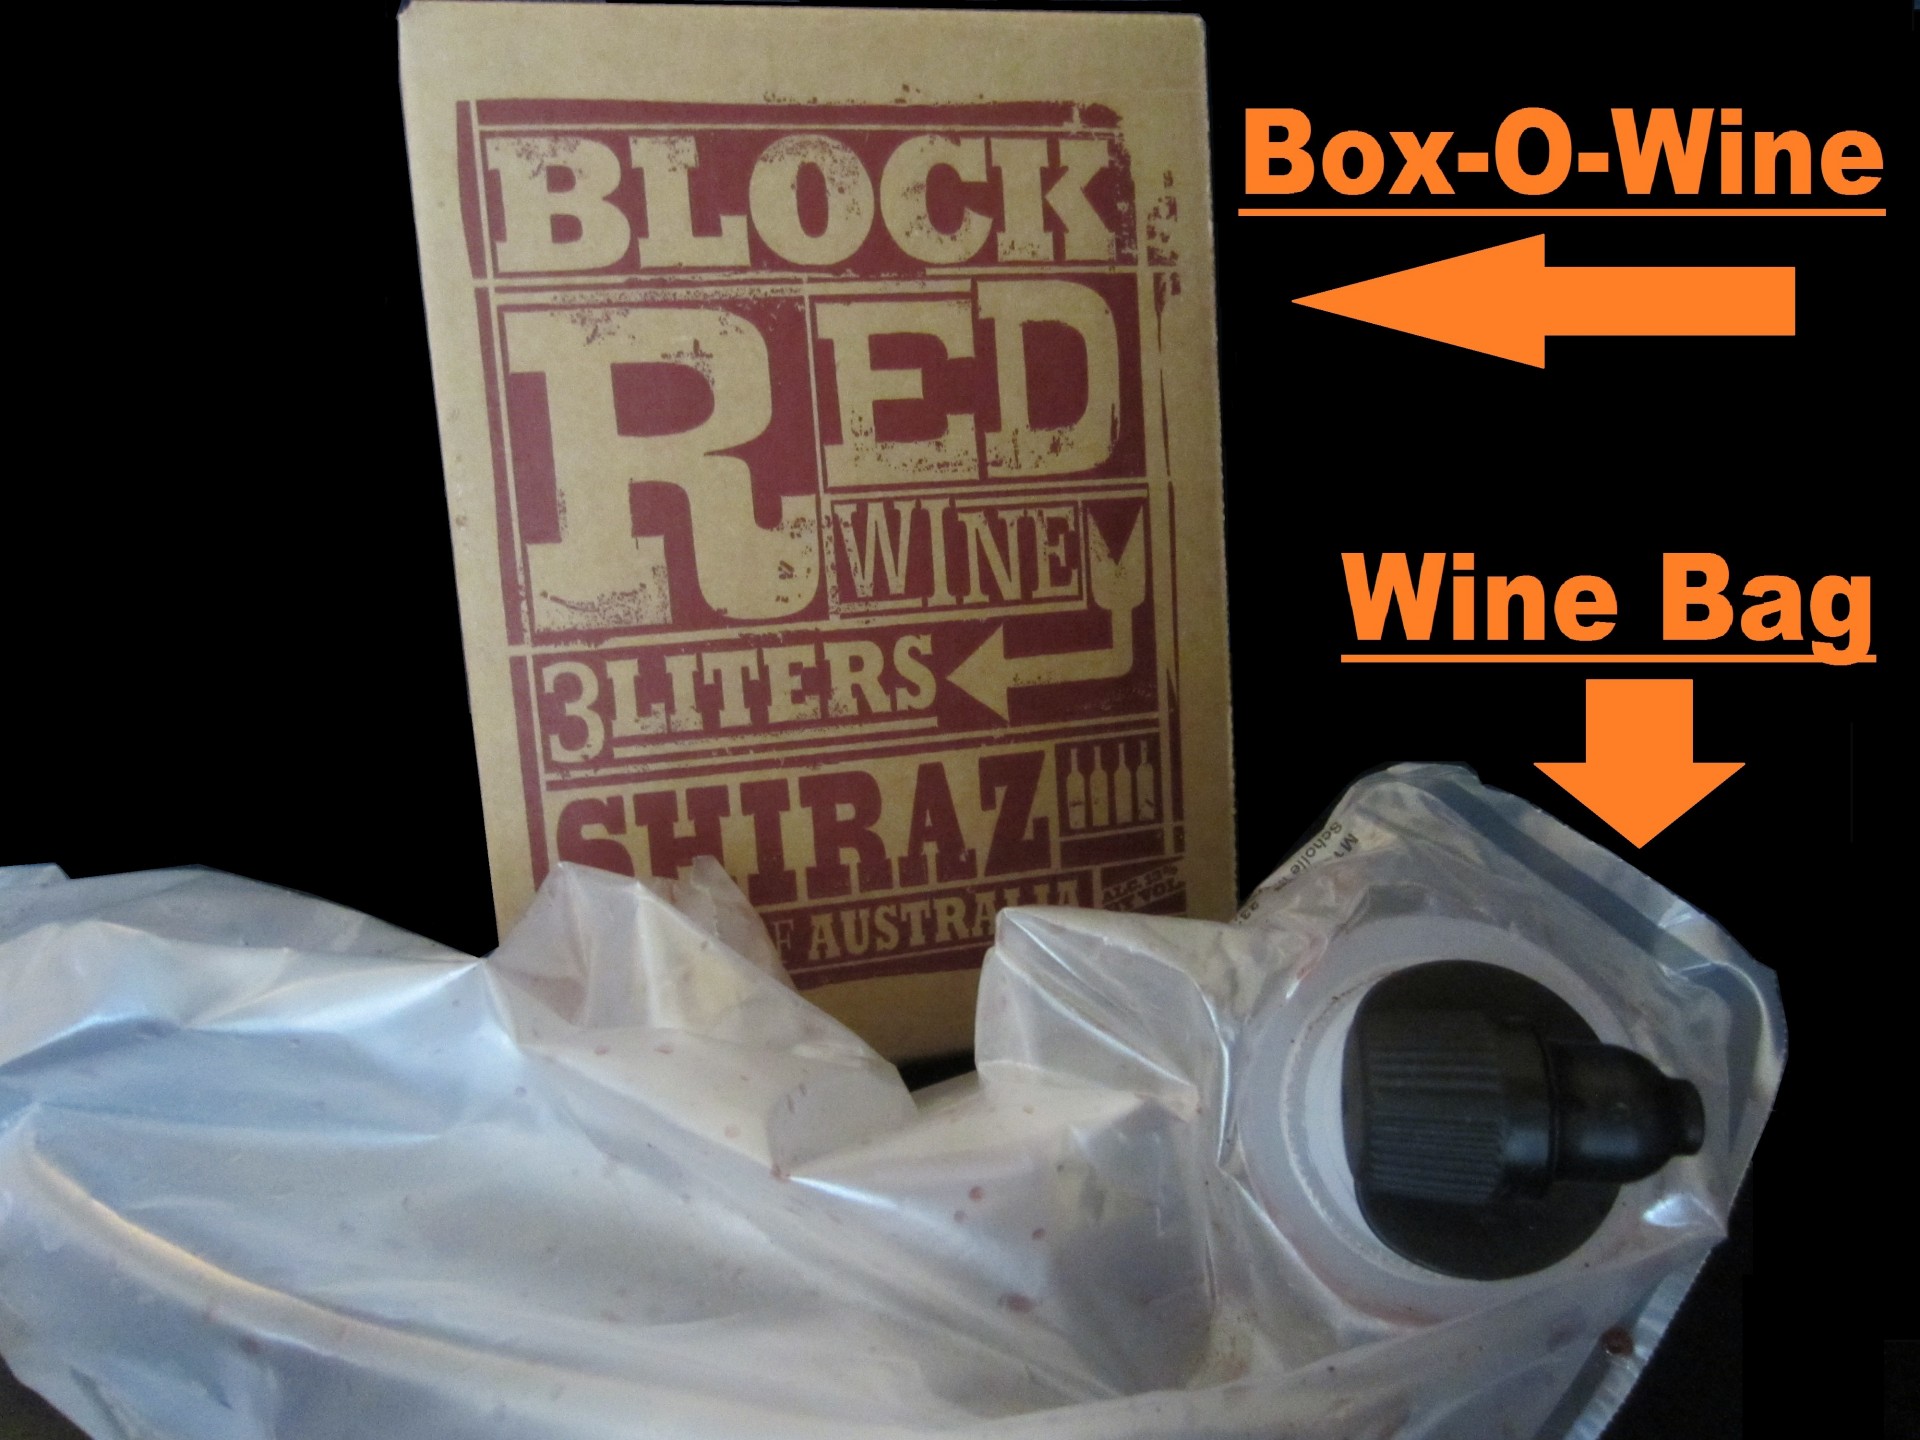
  3. A box of wine (3-5 liters)… the kind with the pull-out plastic tap.

Here’s what you do:

1.  Cut open the top of your pumpkin and scrape out all its pumpkiny guts just like you would when carving a pumpkin. Keep the top of the pumpkin to use as a lid later.

2.  Using the plastic tap on your Box-O-Wine, transfer all of the wine out of its box.

3. Open the box of wine and remove the plastic bag from inside the box.

Box of Wine

4. Cut out a hole near the base of your pumpkin that will snuggly accommodate the plastic tap. You may want to disassemble the plastic tap first (see step 6) to better determine the size of the hole you will cut.  

5.  Ensure that the plastic bag and tap fit well with the pumpkin by placing the wine bag inside the pumpkin and sliding the plastic tap through the hole you’ve cut. You may decide it’s easier to disassemble the plastic tap from the wine bag, place the wine bag inside the pumpkin, and then attach the tap from the outside. Adjust the hole in the pumpkin if necessary. 

6.  Remove the plastic bag and tap from the pumpkin and separate the plastic tap assembly from the plastic bag. This can take a couple minutes depending on the wine bag— some are easier to disassemble than others. If you get a tricky one, you can use the backside of a butter knife to wedge apart the circular plastic fitting surrounding the tap from the circular fitting on the plastic bag. [See picture below]  The small plastic tap is pretty sturdy, but still, try not to twist or break it off of in the process.

Removing the Tap from a Wine Bag

7.  Rinse out the plastic bag with water.

Dissembled Wine Bag

8.  Gently fill the plastic wine bag with your pumpkin beer of choice.  You can always use a plastic funnel to better guide the beer into the plastic bag, but either way, try to keep the beer as carbonated as possible by not splashing too much.

9. Carefully place the plastic bag into the pumpkin and push the plastic tap through the hole in the pumpkin.  At this point, you may want to pull the plastic tap through the pumpkin hole from the outside of the pumpkin to adjust it, but BE CAREFUL! If you pull the tap forward with too much force, you may end up pulling it right off the wine bag and spilling beer all the floor instead of in your tummy, where beer belongs.

10.  Place your carved pumpkin lid on the top of the pumpkin, and your Pumpkin Keg is ready for action.

*Optional: It’s up to you if you want to further pimp-out/decorate your Pumpkin Keg; just remember if you’re carving, it’s probably best to do that before you place a filled bag of beer inside the pumpkin.

Also keep in mind that there’re 33.814 ounces in a liter, and 12 ounces in a standard beer bottle, so if you’re filling a 3 liter bag, you’ll need about 8 bottles, or 14 bottles for a 5 liter bag.  Can’t find a use for 5 liters of cheap wine?  How about polishing off a few nice bottles yourself, refilling the bottles with box wine, and then serving them to your wine snob friends.  Don’t feel bad, they deserve it.

If you want to serve more than just the 3-5 liters that a standard wine bag will accommodate, you can either collect and pre-fill other wine bags with pumpkin beer, or simply refill your existing pumpkin keg when it’s empty. In a pinch, you can just cut a hole in the top of the wine bag and pour your pumpkin beer in through the top, but this obviously isn’t as secure as the method described above.

Speaking from experience, I recommend doing a quick practice run with your Pumpkin Keg by filling the plastic bag first with water and then assembling it.  That way if you make a mistake and spill somewhere in the process, you’ve only lost some water instead of precious beer.

If you wanted to forego purchasing the Box-O-Wine and removing the related plastic wine bag and tap for some reason, you could try cleaning out the inside of the pumpkin as described above, then take your chances wrapping the inside with plastic wrap, or melting wax and coating the inside of the pumpkin, and lastly buying and fitting the pumpkin with a plastic bottling bucket spigot from your local/online homebrew store.  Good luck.  

The idea with using a wine bag is to preserve the original flavor of the beer you’re adding by not having it come into contact with raw pumpkin flesh and also to prevent leaks.  If you’re just using a tap or spigot and you cut the hole in the pumpkin too big, you either have to figure out a way to plug the excess clearance or buy a new pumpkin.  No thanks.

The Raw Dog Pumpkin Keg (Not Recommended)

Some people might opt not to use the wine bag method or cover the inside of the pumpkin (with wax or plastic wrap), but instead pour the pumpkin beer directly into the hallowed out pumpkin after firing/flaming the inside of the pumpkin to create additional roasty flavors.  Again, the problem there is not only is it extra work, it will almost certainly change the appearance and flavor profile of the pumpkin beer, perhaps not to everyone’s liking. (Most people probably wouldn’t care much for those little pieces of ash and other floaties that make their way into the beer either.)

But even if you don’t flame the inside of the pumpkin and simply want to add pumpkin beer to the raw flesh inside of a hallowed out pumpkin for some other reason (maybe to save time or to add some additional possible squash character to the beer), there are other problems.  

For example, you can’t simply add ice to your pumpkin keg to keep it cool without worry of diluting your beer.  However, if you use the wine bag approach, you could dump ice directly over the wine bag or put the ice in zip-lock bags, and place them around the wine bag to keep the beer cool.

Oh yeah, and there’s one other problem with adding beer directly into a hallowed out pumpkin…

Nucleation Aggravation

The other issue with allowing any carbonated beverage to come into contact with raw or roasted pumpkin flesh is that your beer will quickly become flat due to exposure to what is called “nucleation sites”.  A nucleation site is anything on a surface that causes the physical separation of liquid, solid, and gas, or for our purposes, the CO2 separating from the beer resulting in flat beer.  For a real world example of the effect of nucleation sites, let’s imagine that you’ve been served a beer in a dirty glass that has grime stuck to the inside of the glass.  A speck of grime stuck to the inside of a glass is a nucleation site, and you can tell because you’ll see a stream of bubbles jetting away from it because that grime is separating the CO2 from the liquid in your beer (bar tending no-no).  Because the inside of a pumpkin is one giant nucleation site, if you pour your beer directly into it, the beer will foam, which is your visual clue that the CO2 is separating from your beer.  Bad idea.

Selecting a Pumpkin Beer

There is a vast diversity of different flavors within the pumpkin beer market, and because people have different personal tastes, my advice is always to try a few pumpkin beers out for yourself to see what you like. 

That said, the majority of pumpkin beers on the commercial landscape today fall into two categories: (1) pumpkin beers that try to mimic pumpkin pie (including the spices), and (2) pumpkin beers that don’t.

If you’re looking for pumpkin-pie-in-a-bottle, I like KBC Pumpkin Ale from Trader Joe’s.  It’s cost-effective at $5.99 a six-pack, but it’s also a bit sweet, bordering on Pumpkin Soda.

The other difficulty with recommending a beer has to do with availability.  In other words, because the distribution of beer is very regionalized, what you might find in one state, you might not be available in another.  With that in mind, here’s our 2015 review of of 40 pumpkin beers, many of which you can find in the western U.S. (west coast), and another 2015 review of pumpkin beers from Paste magazine you might find in the South.  It’s important to read the descriptions of the beers and not just the rank to see what flavor profiles speak to you.

Now, if you’re a homebrewer with a killer pumpkin beer recipe, rack that bad boy into a Pumpkin Keg, and we’re talking the ultimate pumpkin trifecta.

By the way, find a good watermelon beer in the summer, and the Pumpkin Keg concept easily translates into a Watermelon Keg.  I also have ideas for making a Turkey Keg— just waiting on Dogfish Head to create an off-centered Turkey Beer.  Only question would be which end to put the tap

Now that you know how to rock the Pumpkin Keg, go forth and be the king/queen of Halloween and/or Thanksgiving.  I’ll be here self-loathing, wondering how I turned into the Martha Stewart of beer.

I just keep telling myself “It’s a good thing…”

Cheers!


Like this blarticle? Well, thanks- you’re far too kind.  

Tweet-worthy?  That would be very kind of you:  

Want to read more beer inspired thoughts?  Come back any time, friend us on Facebook, or follow us on Twitter:

Or feel free to drop me a line at: dan@beersyndicate.com

Hi, I’m Dan: Beer Editor for Beer Syndicate, Beer and Drinking Blogger, Gold Medal-Winning Homebrewer, Beer Reviewer, AHA Member, Beer Judge, Shameless Beer Promoter, and Beer Traveler.  Interests? Beer.

Daniel J. Leonard

How to Make Swamp Cider

IMG_0067.1

Eye of newt and toe of frog, Wool of bat and tongue of dog, Adder’s fork and blind-worm’s sting, Lizard’s leg and owlet’s wing

    -Second Witch, Macbeth, Act IV Scene I

With Halloween just two weeks away, it’s time to get into the spirit— cider style.

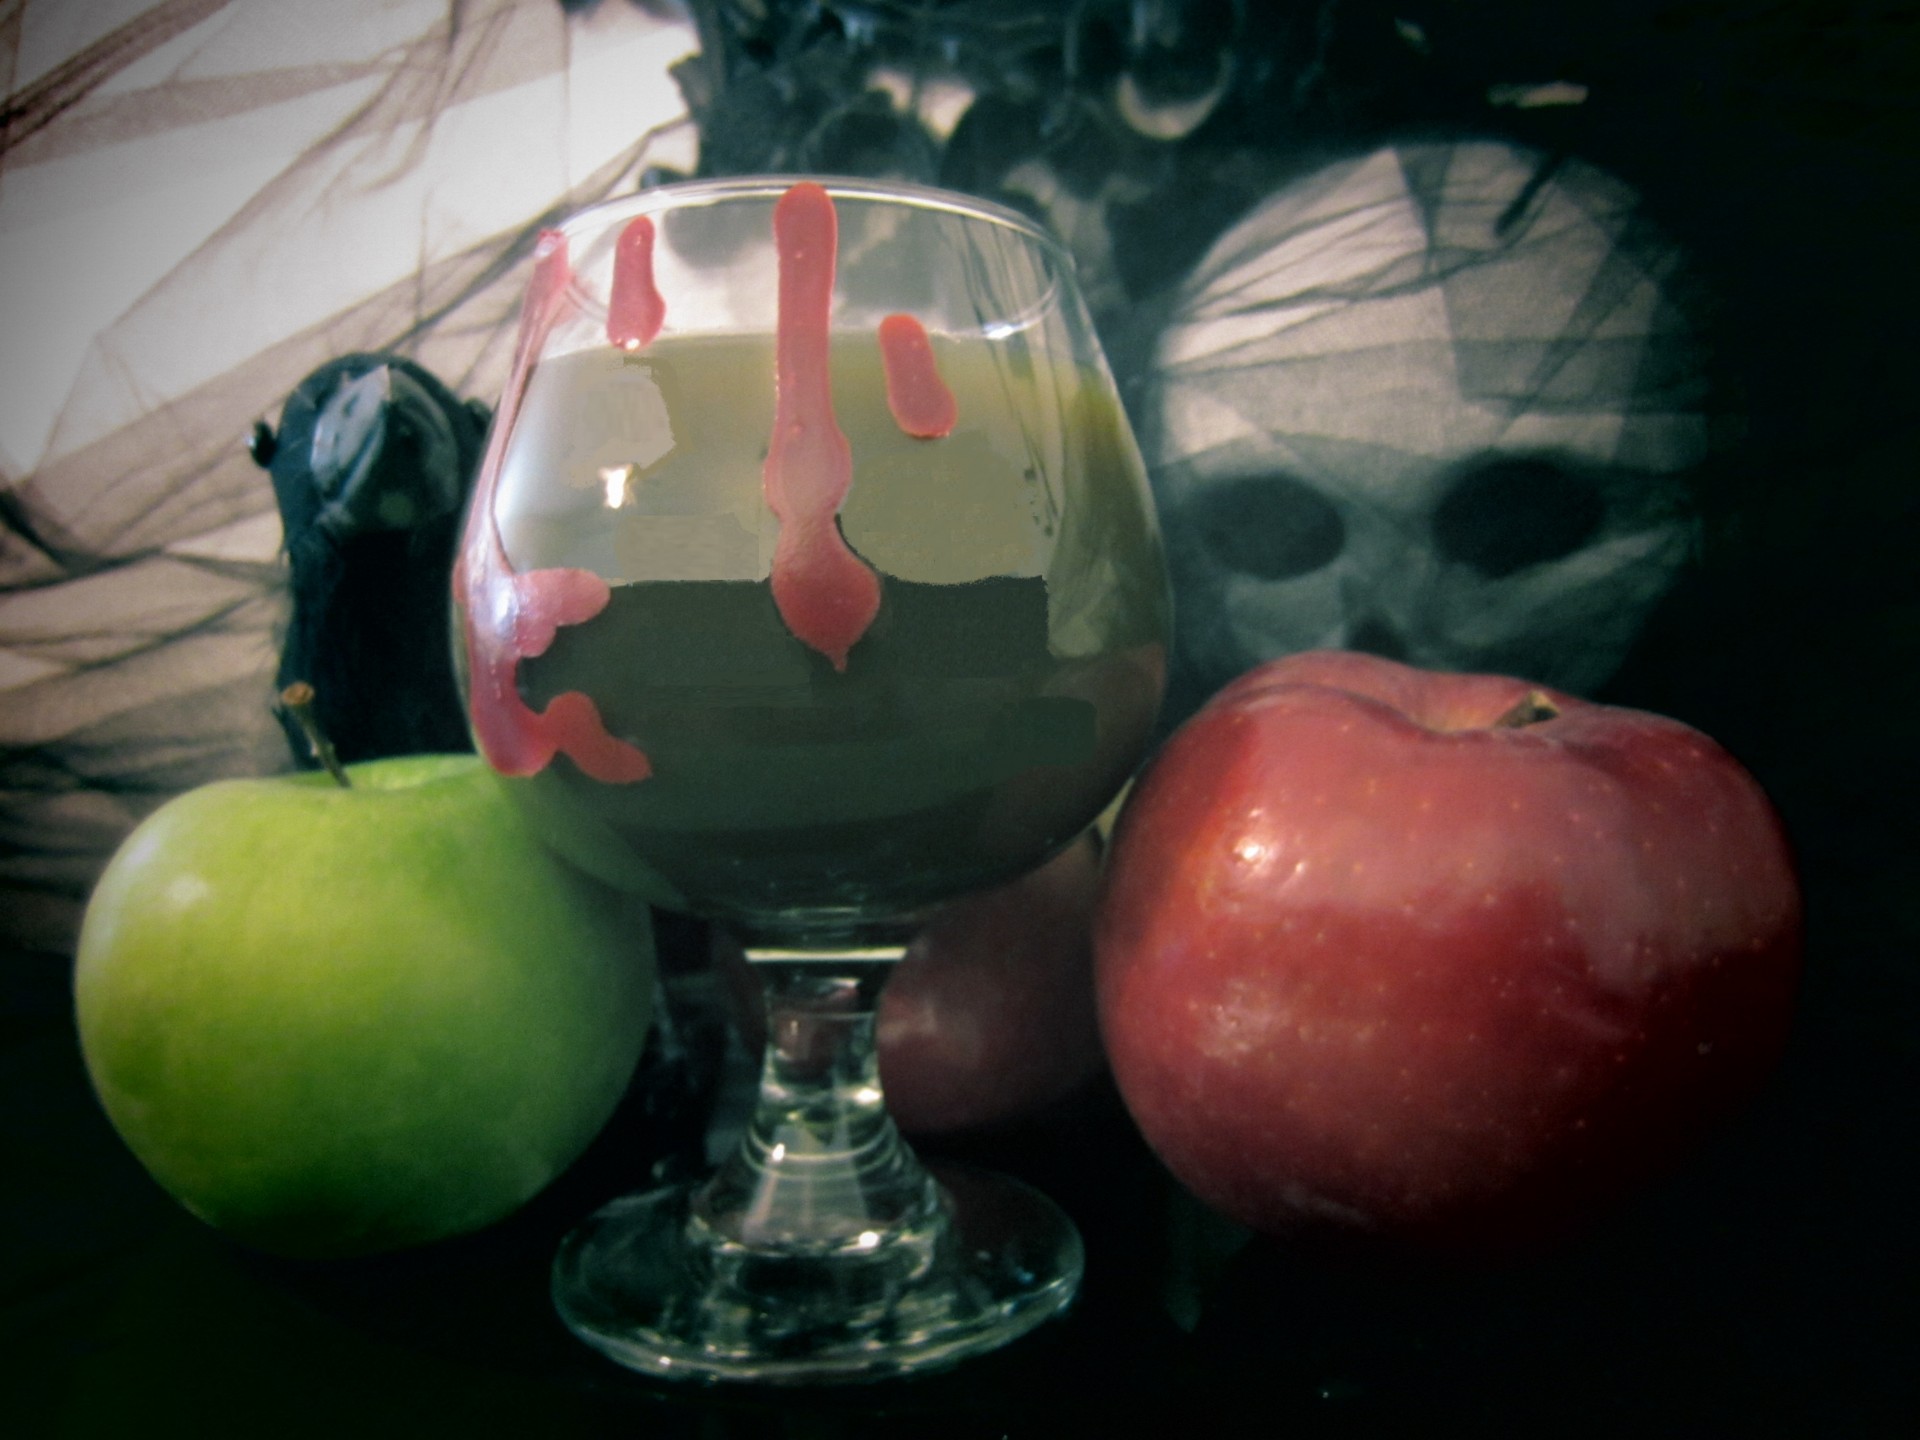
For this insidious installment, I’ve exhumed a diabolically delicious drink from the depths of my recipe vault for you to take a stab at.  It’s a ghoulishly green grog, afflictionately referred to as Swamp Cider, and it’s brain-dead simple to make.

If you don’t drag your feet, you even have a bloody good chance of summoning up a freshly fermented batch of this beastly beverage to serve your fiends and family in time for All Hallows’ Eve.  Besides, you know what they say: Idle hands are the devil’s workshop

[Point of Clarification: This recipe/tutorial is for creating a fermented, and therefore alcoholic, cider. For a non-alcoholic version of Swamp Cider, try blending roughly equal parts green juice (see below) and Martinelli’s (non-alcoholic) Sparkling Cider, or force carbonating green juice with a product like SodaStream.  Now, on with the show…]

Here’s the bare bones list of the two things you’ll need in order to brew up to 5 gallons of Swamp Cider:

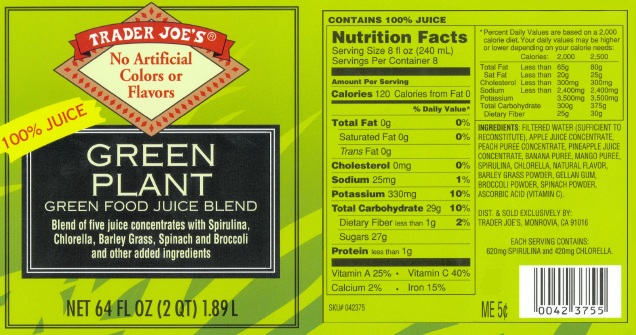
1. Green Juice. I use Trader Joe’s Green Plant juice which contains a fair amount of apple juice; it tastes good and won’t break the bank.

green juice

There are some other more pricy blends out there that may work for you including Naked’s Green Machine, Odwalla’s Superfood, Suja’s Glow, Juice Press’ Love at First Sight, BluePrint’s Green Juice, Organic Avenue’s Mellow Love, etc.   Ultimately, the decision is yours as to which green juice tastes best to you, so feel free to sample a few, and go with your favorite.  Just keep in mind that some green juice blends are thicker than others and may need to be diluted a bit with quality, 100% apple juice or apple cider (fresh pasteurized cider from an orchard is best, but of course not necessary). 

bonesNote!  It’s deathly vital that your store-bought juice DOES NOT contain the preservatives sodium benzoate or potassium sorbate. These chemicals, which should be clearly noted on the ingredients list, are usually a death sentence when it comes to your cider ever fermenting and becoming alcoholic.  Citric acid or ascorbic acid is fine.  Again, it’s also critical that you actually enjoy the taste of the green juice that you’re using because the final product will retain much of the original aroma and flavor components.

Now, if you already have a killer green juice recipe in your spell book, you could conjure up your own concoction, just bear in mind that your blend should contain approximately 25-50% apple juice or cider.  If you’re feeling a bit sluggish, you can always pick up a tasty green blend at one of your favorite juice bar haunts.  There’s just one catch… Your homemade juice and most likely the fresh pressed juice at the juice bar is not pasteurized (flash boiled), which means there will almost certainly be wild yeast and possibly certain spoilage bacteria in it which can produce off-flavors in your final cider.  In this case, the options are (1) heat your juice to 180°F for 45 minutes (do not boil), which will kill most bacteria and wild yeast, or (2) just add the unpasteurized juice and cross your fingers…

2. Yeast. Yeast is the age old fungus that will provide the magic needed to transform your limp green juice into a lively libation. The yeast, which comes in either dry or liquid form, will consume the sugars in your juice and convert them into alcohol and bubbling CO2.  

Using baker’s yeast will probably ferment your Swamp Cider, but it might also produce more bread-like aroma and flavor components, so it’s not exactly my first choice— ever.

For this recipe, I recommend a liquid English Ale Yeast (WLP 002) which you can find at your local or online homebrew store.  Shipping liquid yeast through the mail usually costs more than shipping dry yeast, not to mention, liquid yeast usually costs about double what dry yeast does (about $8 VS $4, respectively).  So if there is no local homebrew shop in your area, you could use a dry English yeast such as Windsor Ale Yeast, which will be cheaper to ship.  English Ale Yeast generally will leave you with a semi-sweet cider, whereas cider and wine yeasts have a tendency to finish dryer, sometimes bone dry.  The amount of yeast sold in a single packet or vial at homebrew shops will be enough to ferment up to 5 gallons of Swamp Cider, and certainly no problem for fermenting lesser amounts.

Basic Procedure

1. Combine your green juice and yeast into a clean* food-grade plastic container (up to 5 gallons), and cover with aluminum foil. You can poke a few holes in the foil with a fork to allow the CO2 produced by the yeast to more easily escape. If using a glass container, DO NOT tightly seal a lid onto the jar, or the jar will most likely explode due to the building pressure of the CO2 produced by the yeast. Remove the lid and replace with aluminum foil like mentioned above.

Tip! Stretching the Yeast: Buying multiple packets of yeast can get pricy, so if you’re fermenting in two containers, but only have one vial/packet of yeast, you can divide the yeast in half (just eyeball it) between the two containers.  If fermenting in more than two containers with only one vial/packet of yeast, you could add the yeast to a cup of green juice or cider, shake or stir well, then evenly distribute the yeast to the different containers.

[* Cleaning: I recommend rinsing the inside of your containers, or any equipment coming in contact with your yeast or unfermented cider, for 30 seconds with a product called “One-Step”.  One-Step is a human-friendly, scentless cleanser which can be found at your local/online homebrew shop. It comes in a dry, white powder form which you simply mixed with water for use; usually 1 table spoon to 1 gallon of water.]

IMG_0068

2. Place container in a consistently cool place (60°F is ideal) and wait 1-2 weeks. At above 70-75°F, the cider can start taking on stronger alcoholic notes. Too far below about 55°F, and the cider may not ferment at all.

 [Fermenting Swamp Cider in glass jug.  Notice a small grimy ring called a “krausen” will form near the top of the liquid; this is normal.]

3. Drink. Straight from the container, you’re cider will be slightly effervescent at best, but generally flat, or, as it’s referred to in the cider world, “still” or “petulant”.

Optional: If you want to carbonate your cider, the easiest/cost-effective way to do it if you don’t have a kegging system or a product like SodaStream is to wait until fermentation is complete (1-2 weeks), transfer your cider to cleaned plastic containers, and then add a measured amount of sugar back into your cider.  If you want your Swamp Cider ready by Halloween, then ferment for 9 days, then bottle for 5 days.  Here’s a program to help you determine how much: Priming Sugar Calculator

If you want to bottle in glass, you need to make sure the glass you want to use is thick enough to handle the carbonation.  Swing-top soda and beer bottles are fine, but the standard wine bottles that are used for uncarbonated wine are too risky.  If you want to bottle in regular beer bottles, here’s how you do it: How to Bottle

Well, boils and ghouls, you’re now possessed with the knowledge of how to make a sinister Swamp Cider, which means that you can get to brewing, and I can stop invoking the Crypt Keeper….

Bone appetite!

[Thirsty for more? Below you’ll find a little fermenting F-A-Q just for Y-O-U.  Enjoy.]


Like this blarticle? Well, thanks- you’re far too kind.  Want to read more beer inspired thoughts?  Come back any time, subscribe to our RSS feed or follow us on Twitter at twitter.com/beersyndicate.


Or feel free to drop me a line at: dan@beersyndicate.com

Hi, I’m Dan: Beer Editor for Beer Syndicate, Beer and Drinking Blogger, Gold Medal-Winning Homebrewer, Beer Reviewer, AHA Member, Beer Judge, Shameless Beer Promoter, and Beer Traveler.  Interests? Beer.

IMG_1089.1

FAQ- (Frequently Axed Questions)      

Is it really that simple?

Yep.  If you want to learn how to create different kinds of cider recipes or improve your technique, you can read more about it on the aptly named tutorial How to Make Great Cider, but if I had to pick out the two most important bits, it would be this: (1) be clean, and (2) control the temperature of your cider during fermentation. Being clean means not only keeping your hands clean, but making sure your equipment is clean too.  Controlling your fermentation temperatures can be a little more complicated.  At the beginner level, either finding an area of the house that’s consistently about 55-65°F, or putting your fermenting containers in some sort of clean bucket or bin, adding 60°F water up to about half way of your container(s), monitoring with a thermometer, then occasionally adding ice to reduce the temperature when necessary.  Just don’t let any water from the bin get inside your fermenting cider— who knows what’s floating around in it.

How will it taste?

Depends on the quality of the green juice and what type of yeast that you use.  As long as you enjoy the taste of the green juice prior to fermentation and you’re running a clean operation, your Swamp Cider should turn out well.

Can I pour the yeast right into the green juice containers?

Yes, but most containers you might find in the grocery store are relatively small, containing usually less than a gallon.  If it were me, I’d ferment at least 1-2 gallons at a time (one gallon equals about ten 12 oz beer bottles).  One little trick I use is to buy the 1 gallon jugs of apple juice/apple cider from the grocery store (Sprouts/Whole Foods, etc.), drink or transfer half the juice, and then ferment right in the glass jug.  An identical 1 gallon glass jug at the homebrew shop runs about $5-$6; I found the same one at Sprouts on sale for $5.99, except it was filled with organic unfiltered apple juice.  You do the math.

IMG_0423

Will it make me sick?

Extremely unlikely.  If you’re clean and keep the fermenting cider away from germ spreaders like pets, kids, bugs, and the undead, there is very little chance some bad thing is going to get into your cider; no more so than would get into a bottle of soda kept in a pantry.

How much alcohol will be in the cider?

Depends on how much sugar was in your green juice, but probably somewhere in the 5-7% range.

Powered by WordPress & Theme by Anders Norén